
Key takeaways
- Putting a wet blade back on the clipper: Moisture can cause rust and may damage the clipper mechanism.
- Soaking the entire clipper: Keep the motor housing, cord connection, and electrical parts away from water and cleaning solution.
- Using cooking oil or heavy household oil: These products can become gummy and trap hair. Use oil made for clippers.
- Over-oiling: More oil is not better. Wipe away visible excess before grooming.
- Scrubbing with steel wool or sandpaper: Abrasive tools can change the cutting surfaces and damage the finish.
- Ignoring heat: If a blade is too hot for your hand, it is too hot for your dog’s skin. Switch blades or use approved coolant while grooming.
- Using a damaged blade: Missing or bent teeth can scratch skin, snag fur, or create an uneven cut.
Dog clipper blades collect hair, skin flakes, dander, oil, and moisture every time you groom. If you clean them poorly, the debris can make the blade drag, pull your dog’s coat, overheat the clipper, or develop rust. A dirty blade may also spread bacteria between grooming sessions. Cleaning is simple, but it requires more than wiping the teeth with a towel: you need to remove packed hair, wash away residue, disinfect appropriately, dry every metal surface, and apply a small amount of clipper oil.
This guide explains how to clean dog clipper blades safely in 2026. The instructions apply to most detachable blades used with Andis, Wahl, and Oster clippers, but your manufacturer’s instructions should take priority if they differ. Never clean a powered clipper while it is plugged in, and do not return a damp blade to the clipper.
Our top picks
As an Amazon Associate we earn from qualifying purchases at no extra cost to you. Ratings are shown as listed on Amazon.
What You Need
| Item | Why | Optional? |
|---|---|---|
| Small cleaning brush | Removes hair from between the teeth, hinge, and rails without bending the blade. | No |
| Blade wash or clipper-blade cleaning solution | Loosens oil, skin debris, and buildup from the cutting surfaces. | No |
| Shallow glass or metal dish | Holds enough cleaning solution to cover the cutting edge without wasting product. | No |
| Clean, lint-free cloth | Dries the blade and prevents loose fibers from catching in the teeth. | No |
| Clipper oil | Reduces friction and helps protect moving metal surfaces from corrosion. | No |
| Blade coolant | Cools a hot blade during grooming; it is not a substitute for cleaning. | Yes |
| Rubbing alcohol, if approved by the manufacturer | Can help disinfect a fully cleaned blade, but may dry some finishes and does not replace oil. | Yes |
| Replacement blade | Useful when teeth are chipped, the blade is badly rusted, or sharpening costs more than replacement. | Yes |
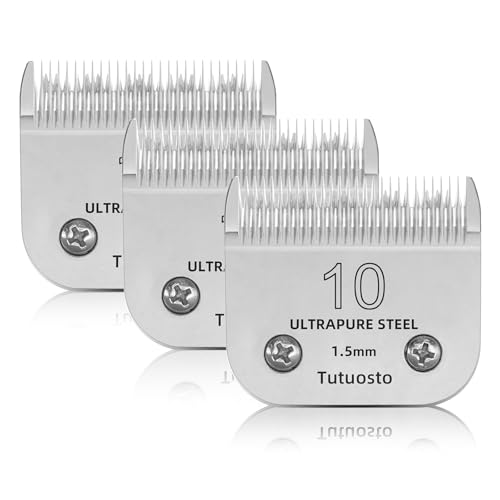
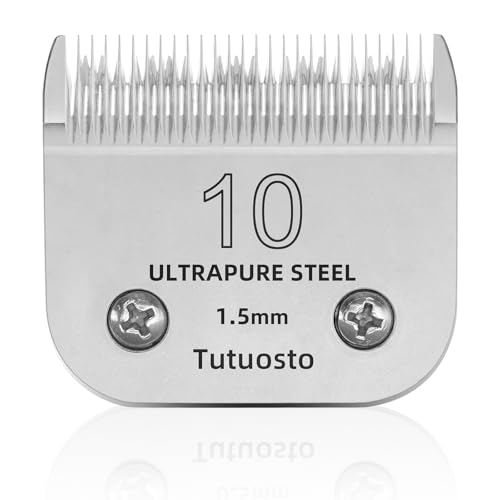
Replacement options include the 3 Pack 10 Clipper Blade Compatible with Andis, Wahl and Oster Dog Clippers, listed for under $40, and the Tutuosto 10 Clipper Blade Compatible with Andis,Wahl and Oster Dog Clippers, listed for under $20. Prices can change, so treat roughly $14 to $33 as a current reference range rather than a guaranteed price. Confirm the blade number, size, hinge style, and clipper compatibility before buying.
Step-by-Step
1. Unplug the clipper and let the blade cool — 2 minutes
Turn the clipper off, unplug it, and place it on a stable, dry surface. If you were grooming, wait until the blade is cool enough to touch comfortably. A blade can remain hot after the motor stops, and cleaning a hot blade can evaporate solution too quickly or cause accidental burns.
Remove the blade according to the clipper’s design. Many detachable blades release by pressing a latch or tilting the blade away from the hinge. Do not force it, twist the teeth, or use a screwdriver unless the manufacturer specifically instructs you to do so.
2. Brush away loose hair — 2 to 4 minutes
Hold the blade with the teeth pointing away from your fingers. Use a small brush to sweep hair out of the tooth gaps, along the cutting rail, around the hinge, and behind the moving cutter. Brush in several directions rather than pushing debris deeper into the blade.
If hair is tightly packed, use a wooden toothpick carefully around the hinge area. Avoid metal picks, knives, and needles, which can scratch the blade or damage the alignment. Do not run the clipper to shake out debris while the blade is off.
3. Wash the blade in blade cleaner — 3 to 5 minutes
Pour enough blade wash into a shallow dish to cover the cutting edge and lower portion of the blade. Follow the cleaner’s label for dilution, ventilation, and contact time. Do not mix cleaning chemicals, and do not use household bleach, ammonia, or strong degreasers.
Dip the blade teeth-first, keeping the hinge and any electrical components out of the liquid unless the manufacturer says they are safe to submerge. Move the blade gently in the solution for about 30 to 60 seconds. A soft brush can help loosen residue between the teeth.
Some products are designed for a brief dip, while others are intended to run through an operating clipper. Unless the label specifically directs otherwise, do not power the clipper with the blade sitting in a dish of cleaner.
4. Rinse only as directed — 1 to 2 minutes
Check the cleaner label. If it calls for rinsing, use a small amount of clean water and rinse the blade quickly. If it is a no-rinse product, skip this step. Excess water is one of the main causes of rust.
Do not soak the blade overnight. Prolonged exposure can remove protective oils, discolor some finishes, and allow moisture into areas that are difficult to dry.
5. Dry every surface completely — 5 to 10 minutes
Shake off excess liquid and pat the blade dry with a lint-free cloth. Open and close the moving cutter gently if the design allows it, then blot around the hinge and rear rail. Use a can of compressed air in short bursts to remove moisture from crevices, keeping the nozzle several inches away.
Let the blade air-dry in a warm, ventilated room for at least 5 minutes. Do not use a high-heat hair dryer, oven, or heat gun. Excessive heat can affect lubricants, finishes, and plastic components. The blade must feel completely dry before oiling or storage.
6. Disinfect when appropriate — 1 to 3 minutes
After cleaning and drying, use a clipper-safe disinfectant if your grooming routine requires it. Follow the product’s wet-contact time; wiping it off too early may reduce its effectiveness. Some disinfectants are also lubricants, but do not assume they provide enough protection for the blade’s moving surfaces.
Never disinfect over visible hair and grease. Disinfectant works more reliably on a clean surface, so complete the brushing and washing steps first.
7. Oil the blade and test it — 2 minutes
Apply a small drop of clipper oil to each end of the moving cutter and one drop along the blade rail, or follow the pattern recommended for your model. A few drops are enough; excess oil attracts hair and creates a sticky film.
Reattach the blade securely, then run the clipper for 10 to 15 seconds while holding it away from your dog. Listen for unusual rattling or grinding. Turn it off and wipe away any oil that flings from the teeth. If the blade becomes hot quickly, vibrates, or pulls hair during the next grooming session, stop and inspect it.
Mistakes to Avoid
- Putting a wet blade back on the clipper: Moisture can cause rust and may damage the clipper mechanism.
- Soaking the entire clipper: Keep the motor housing, cord connection, and electrical parts away from water and cleaning solution.
- Using cooking oil or heavy household oil: These products can become gummy and trap hair. Use oil made for clippers.
- Over-oiling: More oil is not better. Wipe away visible excess before grooming.
- Scrubbing with steel wool or sandpaper: Abrasive tools can change the cutting surfaces and damage the finish.
- Ignoring heat: If a blade is too hot for your hand, it is too hot for your dog’s skin. Switch blades or use approved coolant while grooming.
- Using a damaged blade: Missing or bent teeth can scratch skin, snag fur, or create an uneven cut.
How Often
Brush loose hair from the blade after every grooming session. Clean and oil it after each full haircut, or sooner when grooming a dirty, oily, or heavily shedding coat. For frequent professional use, inspect the blade during the day and clean it whenever hair begins to pack around the hinge or the blade starts dragging.
Disinfect between dogs, especially when equipment is shared. Store clean, dry blades in a ventilated case or original container rather than a sealed damp pouch. A light protective coat of clipper oil is helpful during storage, but wipe the blade before the next use.
When to Call a Pro or Replace
Have the blade professionally sharpened when it is dull but structurally sound, with intact teeth and no significant rust. A professional can also check alignment if the blade pulls hair despite proper cleaning and oiling.
Replace the blade when teeth are chipped, bent, or missing; rust has pitted the cutting surfaces; the hinge is cracked; or the blade remains noisy and hot after cleaning and lubrication. Replacement is often practical when sharpening and shipping approach the cost of a compatible new blade. Confirm the blade size and compatibility before ordering, since a visually similar blade may not fit your clipper.
FAQ
Can I use dish soap to clean dog clipper blades?
Use dish soap only if the blade manufacturer allows it. Soap can remove grease, but it may leave residue and does not necessarily disinfect. If used, rinse quickly and dry the blade completely before applying clipper oil.
Can I spray disinfectant directly on the blade?
Yes, if the product is labeled for clipper blades and the manufacturer permits direct application. Remove hair and oil first, follow the required wet-contact time, and keep spray away from the clipper’s motor and electrical openings.
Why does my clean blade still pull hair?
The blade may be dull, misaligned, damaged, or installed incorrectly. Check that the hinge is seated and the blade is securely attached. If the teeth are intact but cutting remains poor, professional sharpening may help.
How do I prevent rust after cleaning?
Dry the blade completely, apply a light coat of clipper oil, and store it in a dry, ventilated place. Avoid leaving it in a humid bathroom or sealed container while any moisture remains.



Write Your Review
No reviews yet. Be the first to share your experience!